I’m so excited to reveal my kitty album! I recently ordered some adorable papers to make a special mini album for my cat, and I had a great time making a custom book to fill with precious photos. Before I show you the walkthrough video, here’s some insight into my process!
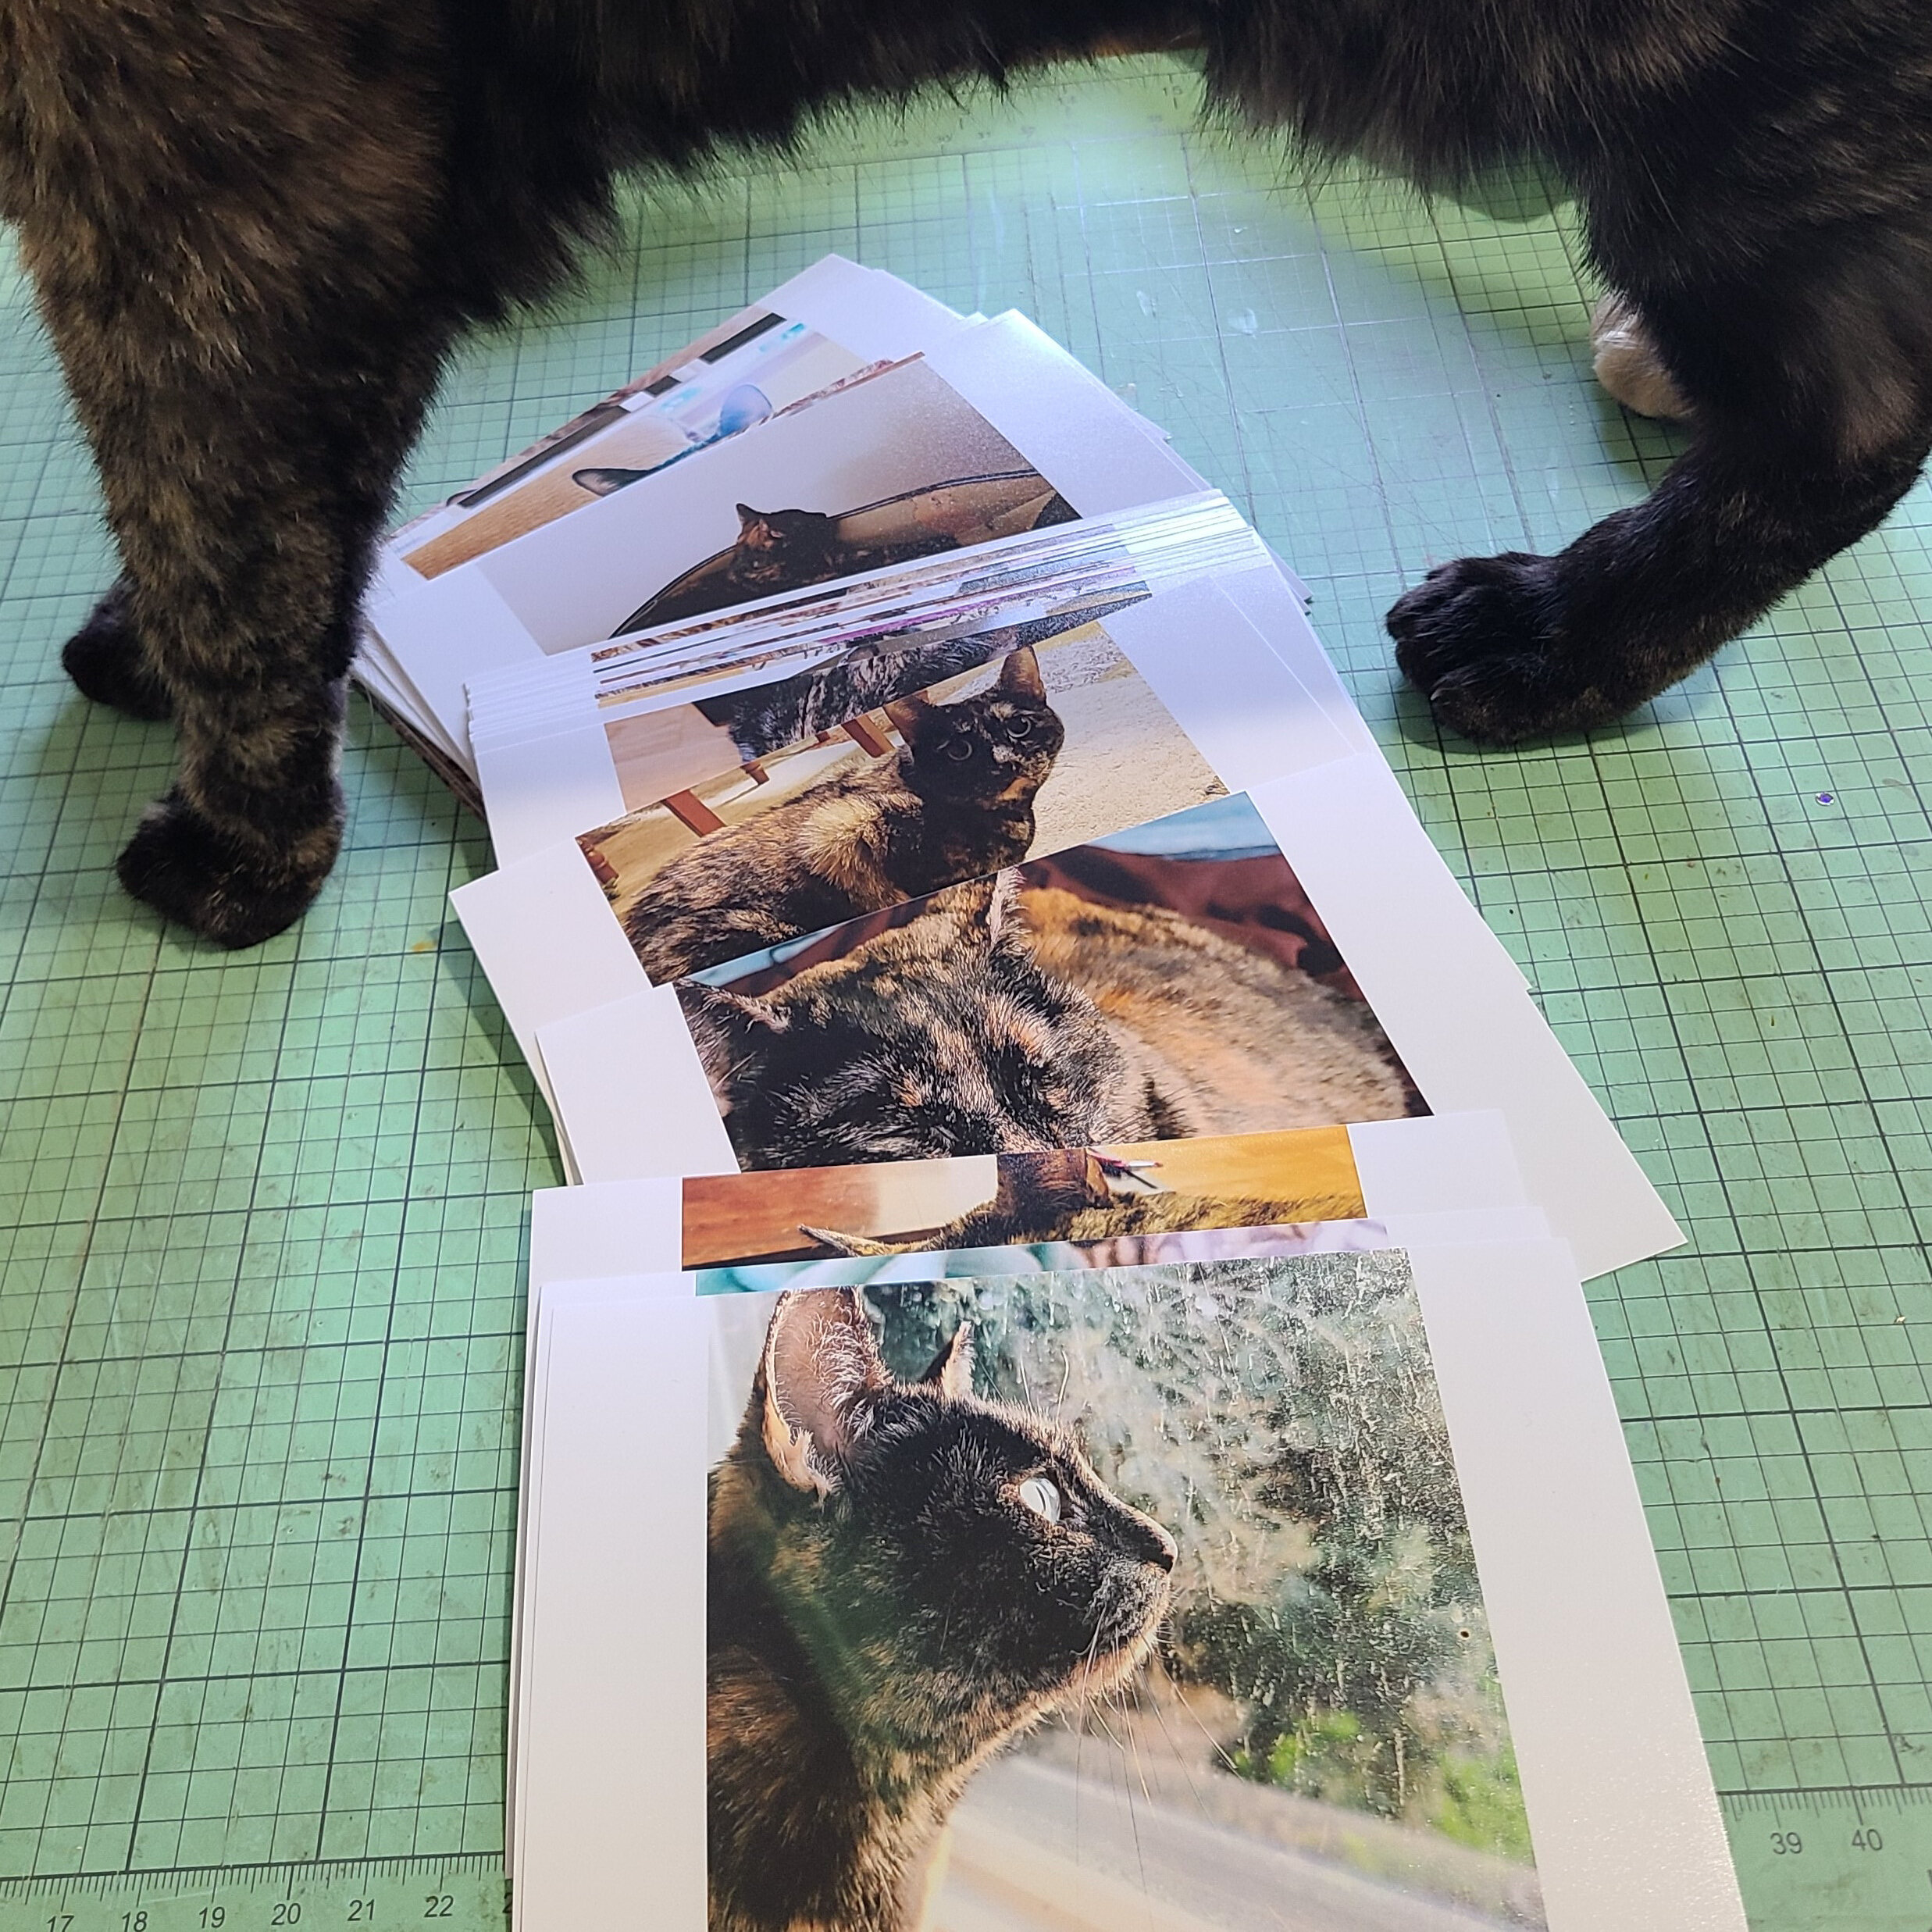
I printed 55 4x6 photos of my fierce feline on the FreePrints app so that I’d have plenty of options for my book. Many of these were in the square format, and since it was cheaper to keep them on 4x6, I trimmed them to 4x4 myself. This was my first time using FreePrints and they seem to always he some promotion going on, and I ended up paying just $5 for shipping for 55 photos. Not too bad!
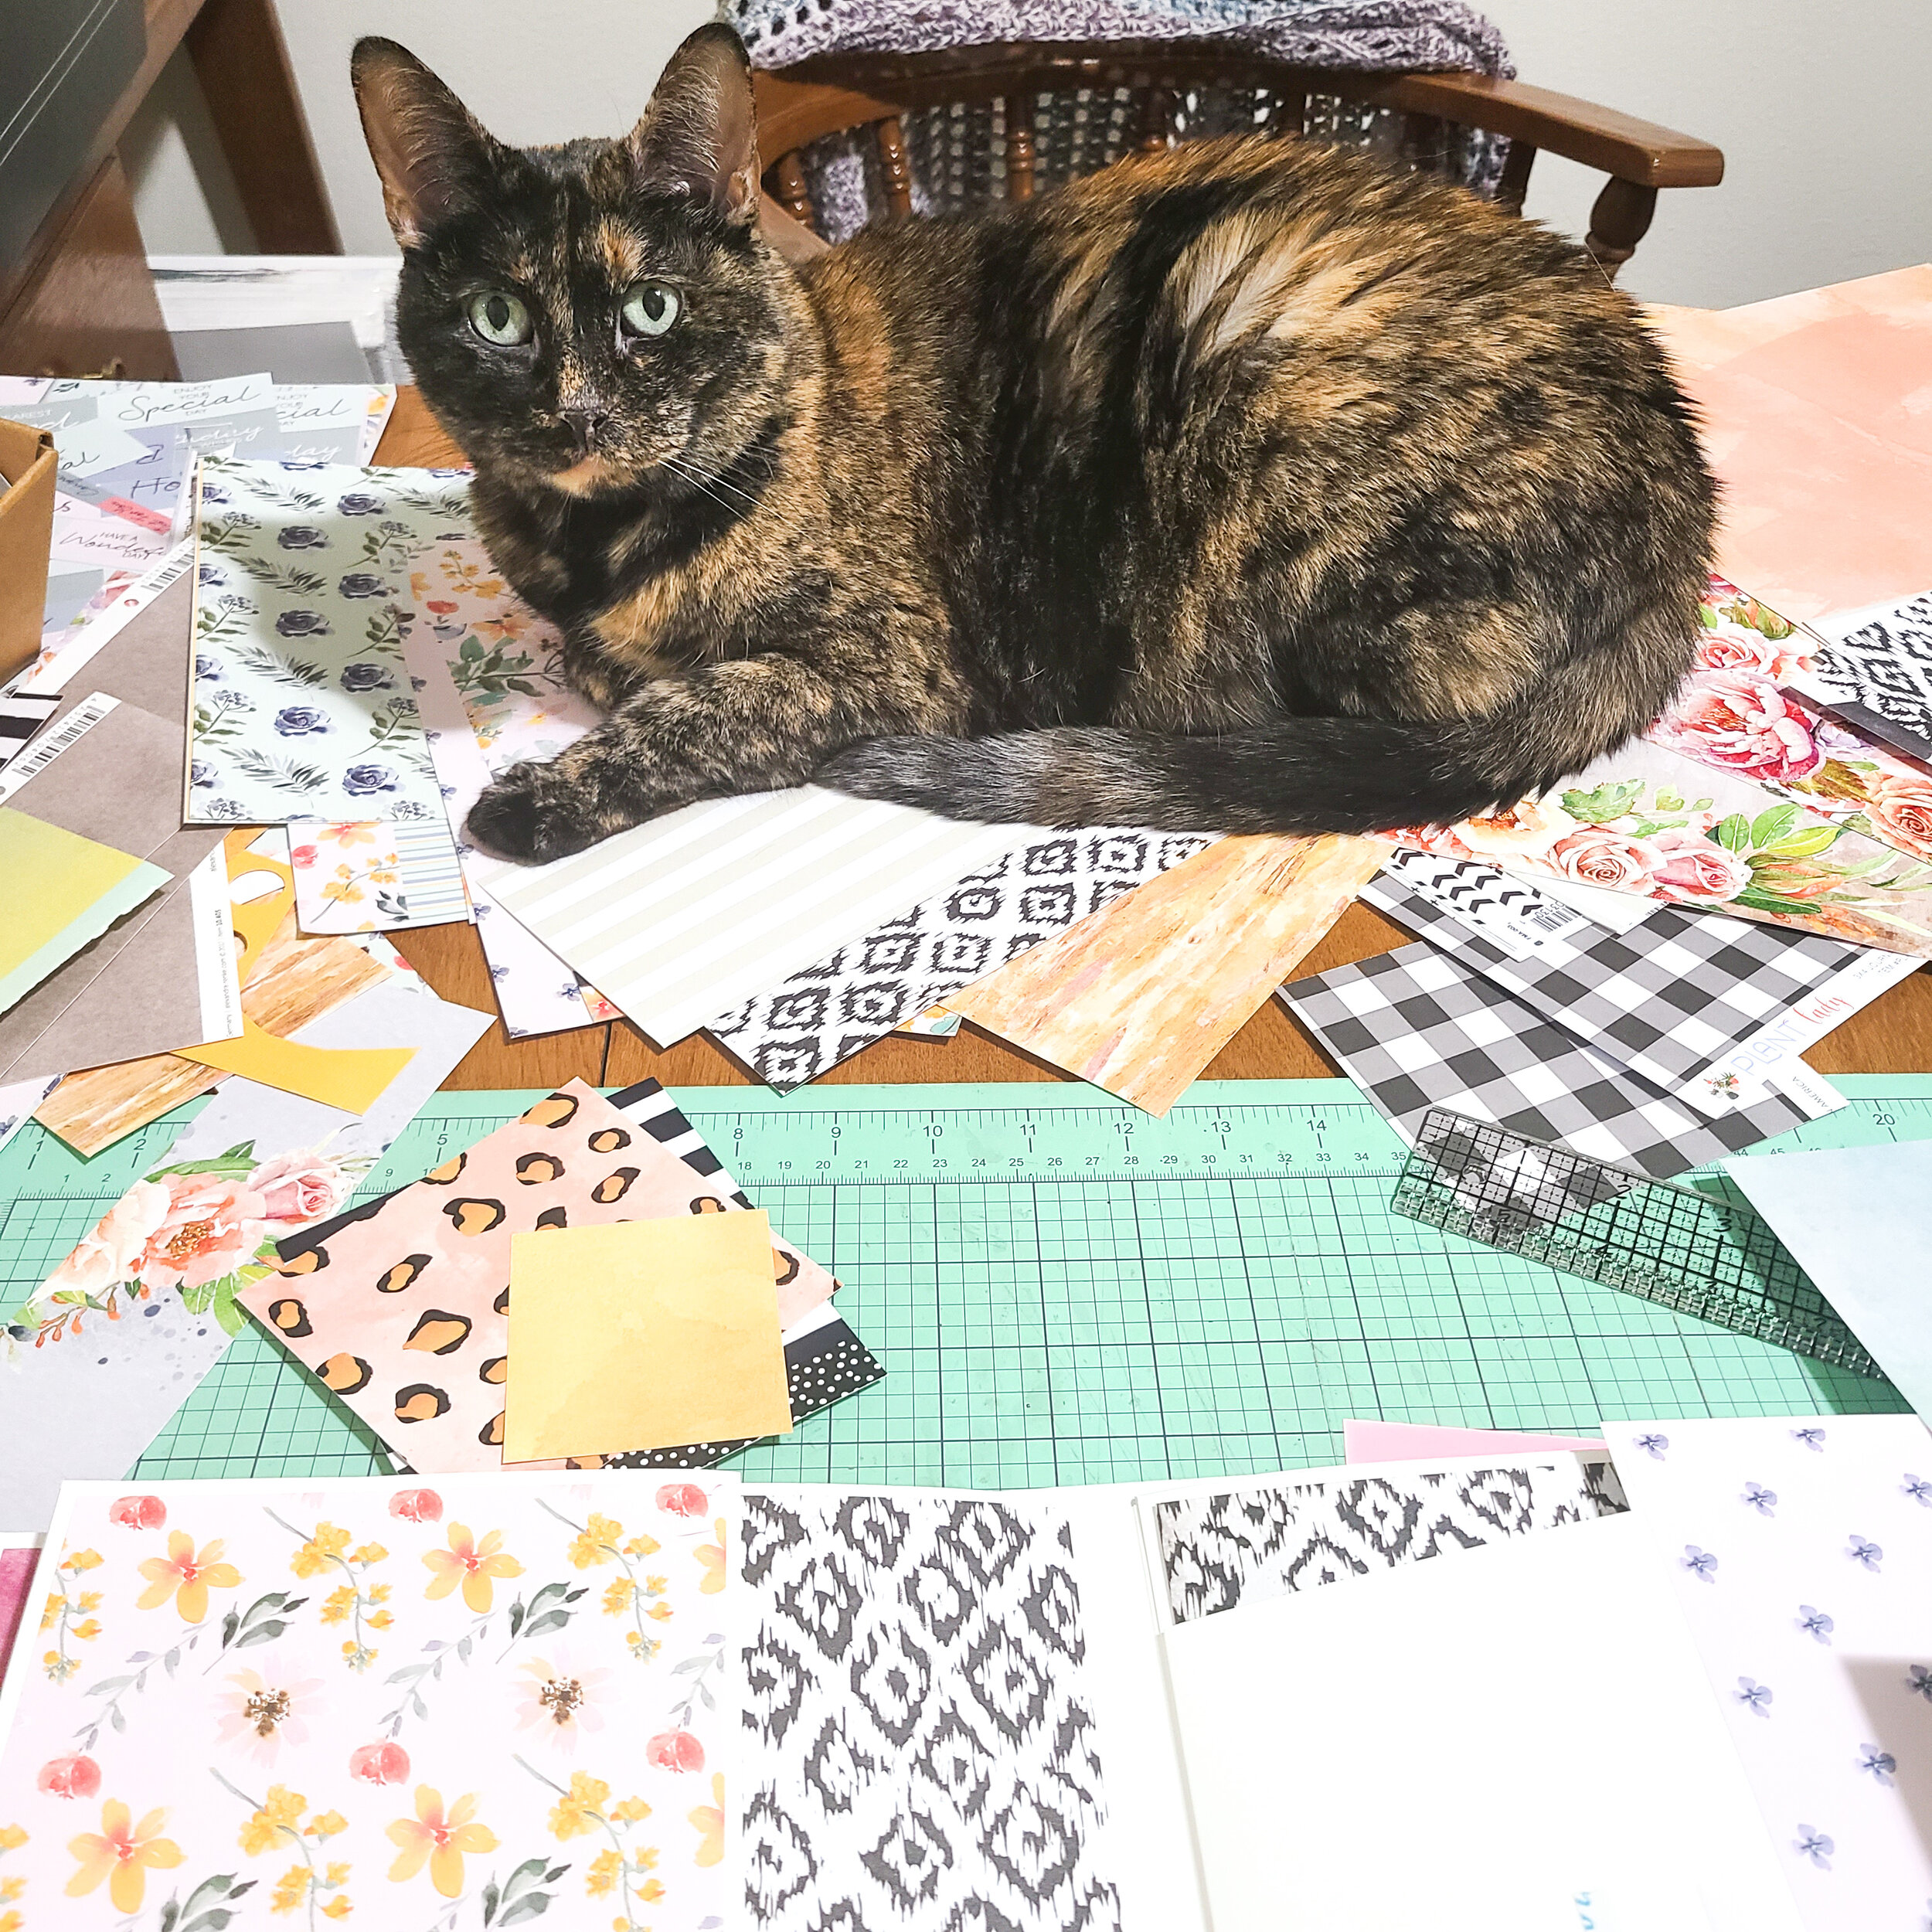
You may have seen my Scrapbook.com haul video with the papers I ordered with this book in mind. I used the It's a Cats Life Collection Paper Kit and 8 x 8 Embellishments Pad by The Paper Boutique, as well as a 12 x 12 Collection Pack of Miss Penelope by Paper Rose (affiliate links). These are two different paper collections, but with similar colors and theme I thought they might play nicely together to give my book variety. To make these paper stretch, I love going through my stash to find coordinating papers to flesh it out a bit, especially patterns that are more solid.
One of the first things I like to do when I start a mini album is cut apart the embellishments or journaling cards so they are ready when I start designing. This collection had a lot of great sentiments that I will use on cards.
When constructing a mini album, the first thing to do is to make the base. I actually used a Cheez-it box by cutting off the short end and reinforcing it with some thin chipboard. I wrapped the box in white cardstock with double sided adhesive. The best way to trim the corners (to reduce bulk) is using my Perfect Trim Ruler from my local scrapbook store, Runaway (Salem, OR).
I used the hidden hinge method for my spine to connect my pocket pages to. A good scoreboard is key!
Lucy was very helpful during the book making process… she kept the papers nice and warm.


It was so fun to mix and match the papers, and best of all, add my kitty photos to the book. I embellished the pages with chipboard shapes and various alphabet stickers and thickers to customize phrases. There is still some room to add more photos, especially in the inserts that is inside each pocket page. I also have room to do some journaling to tell cute stories and keep memories of Lucy’s first year with us that I don’t want to forget. On the cover, I used some paper flowers from my stash, including some I made myself with Heartfelt Creations Oakberry Lane line. I love the dimension and color the flower clusters bring to the cover! Take a closer look by scrolling through the photos above, and flip through the pages in my video below!
Thanks for stopping by! Please leave me a comment on YouTube to let me know what you think, and like and subscribe so you can see more videos down the road.
Have a wonderful day!


